
First, the basics. When managing Apple devices, we prepare configuration profiles and send them over-the-air with our MDM solution. That is, when we’re going to install a configuration profile on a device, that device doesn’t need to be physically next to us.
You can create a configuration profile containing any system preference or how an application can work directly from within your MDM solution. Or you can prepare it with tools like Apple Configurator or iMazing Profile Editor and deploy it by uploading it to MDM. If you want to install a profile you’ve prepared on an Apple device, it’s enough to get it to that device by any method. For example, you can send it by email or you can AirDrop it. You can also manually install the profile on the device that receives the .mobileconfig document. Whatever settings that profile contains, it will fulfill that task.
Create configuration profiles from within the MDM solution if you want, or develop them with a 3rd-party tool if you want. As a result, if you’re going to deploy via MDM, in every case your MDM solution will sign the profile using its own Developer certificate to ensure that profile’s security and deploy it that way. So if there’s an MDM solution in between, you don’t need to worry too much about the security of the profiles.
What’s Needed?
• Apple Developer Program membership (you’ll create your certificate from here)
• A Mac (because we’ll use the Keychain Access and Terminal applications)
• Any tool with which you can create a configuration profile (it can be Apple Configurator for Mac or iMazing Profile Editor)
• Root and Intermediate certificates you can obtain from Apple
• A 3rd-party tool for easy signing (optional)
How Will We Do It?
1. First, Let’s Create a CSR
To create a certificate signing request, open the Keychain Access application on your Mac. The application used to be inside the Utilities folder, but Apple hid it a bit deeper. You can use Spotlight search to find it.
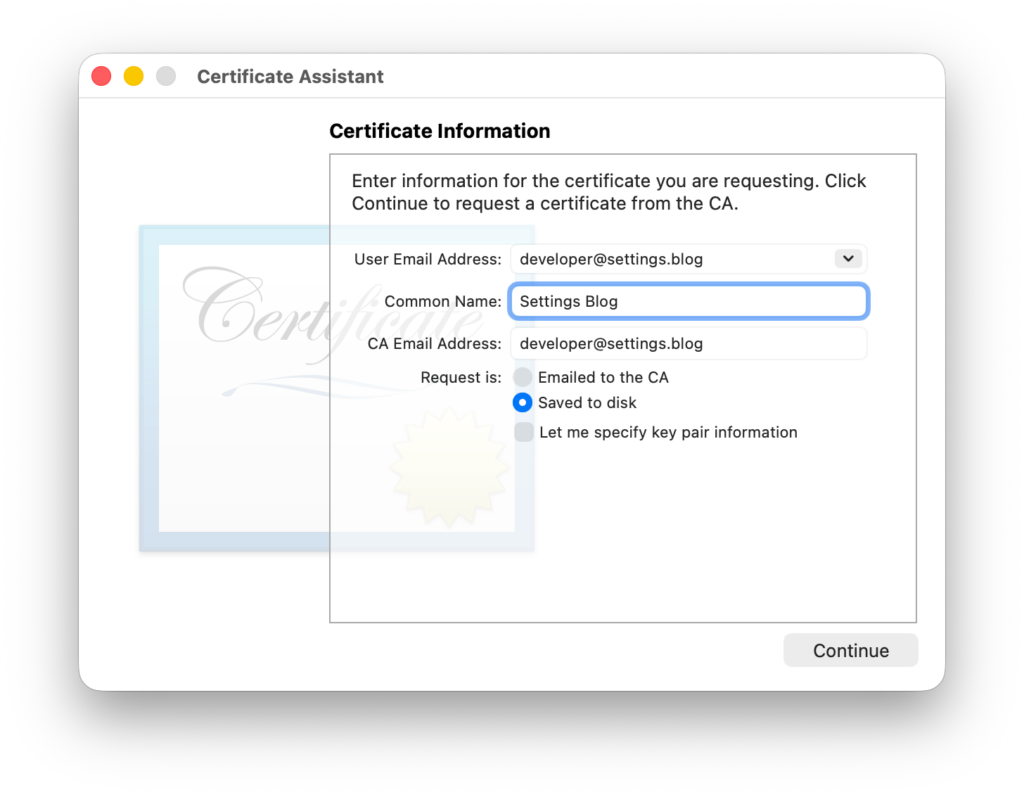
When the application opens, issue the Keychain Access > Certificate Assistant > Request a Certificate From a Certificate Authority command. In the window that opens, enter your email address and choose a common name. Select the Saved to Disk option and save it to your computer.
2. Let’s Create a Certificate from the Apple Developer Portal
Log in to https://developer.apple.com with your Apple Developer account. Here I need to emphasize this point. You can log in to this address with any Apple Account too. However, for the operations I’ll describe here, you need to have registered for the Apple Developer Program by paying its annual fee.
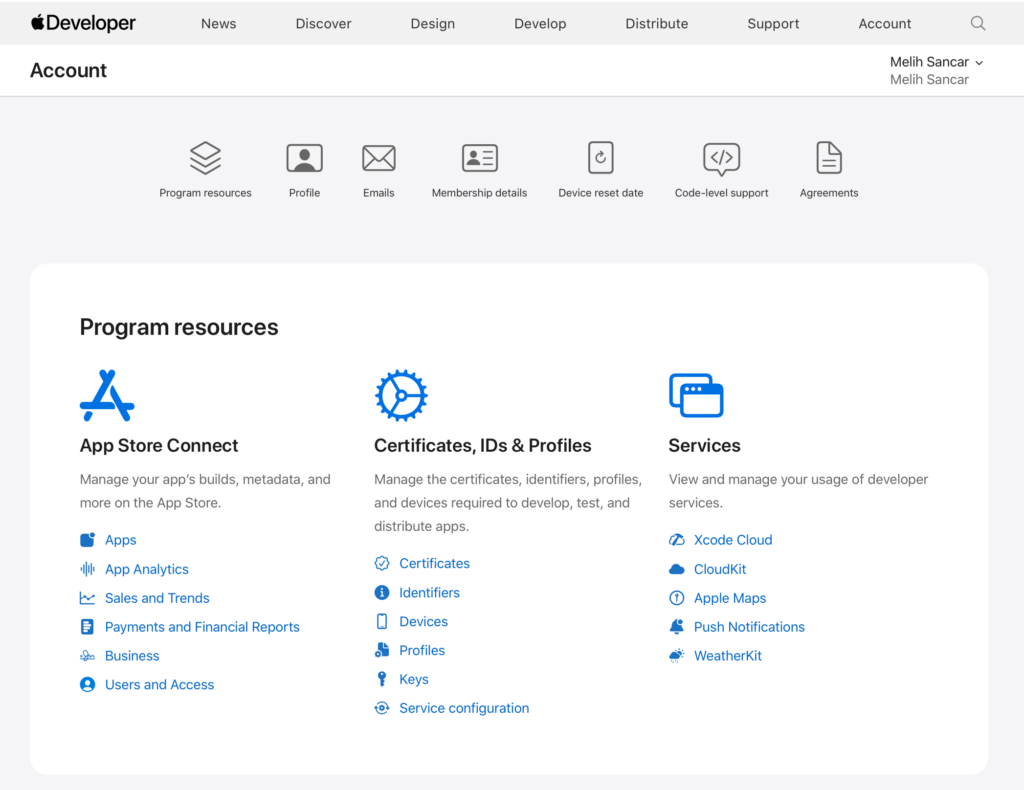
When you enter the site, a page like the one above greets you. Since our job is to create a certificate, we proceed by clicking the Certificates section. And from the page that opens, we can start creating our first certificate by clicking the Create a certificate link.
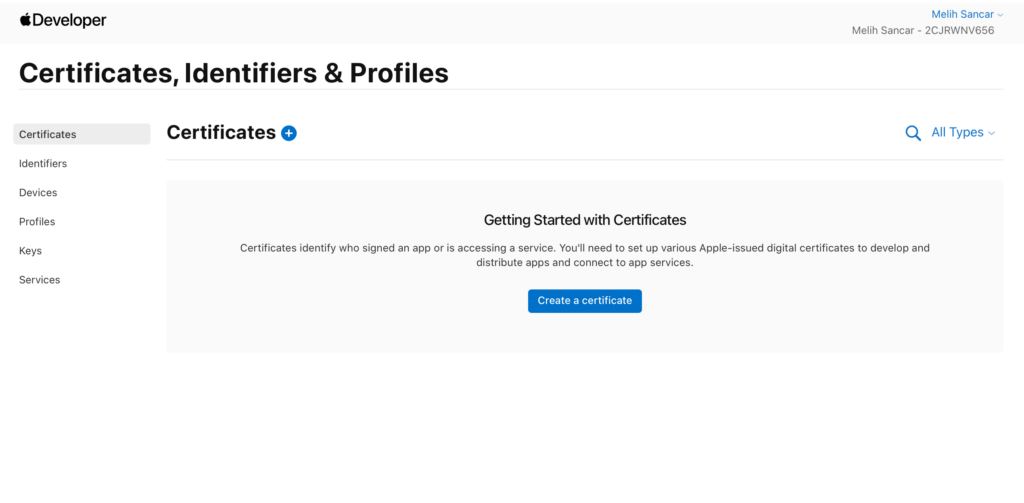
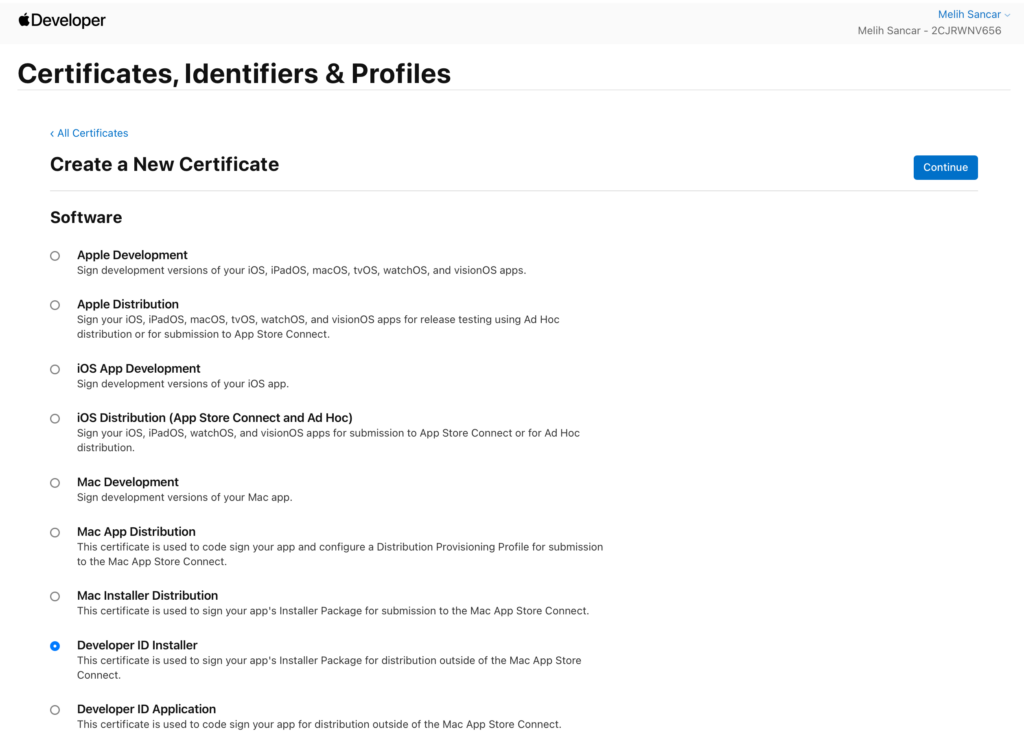
From the next screen, you can select the Developer ID Installer option as the certificate type and click the Continue button.
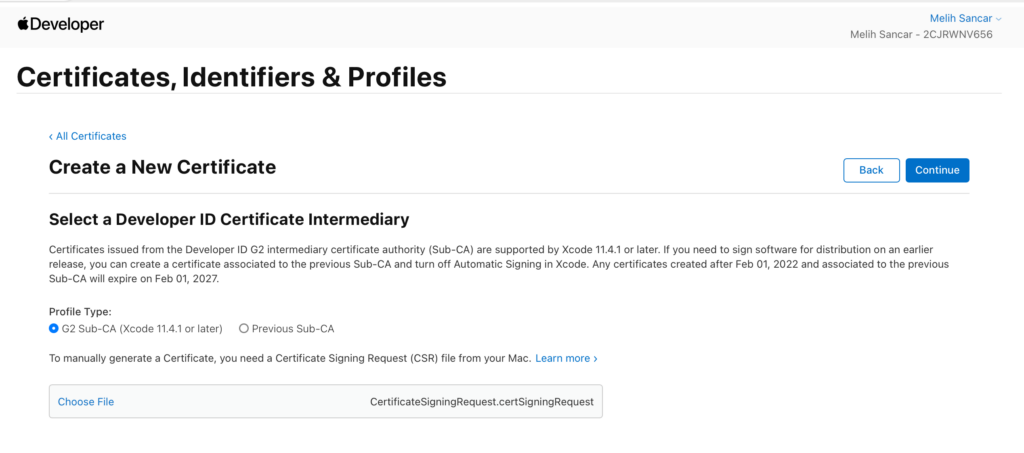
On the page that comes up in the next step, we select the G2 Sub-CA option from the Profile Type section and upload the CSR file we created earlier. And we proceed by clicking the Continue button.
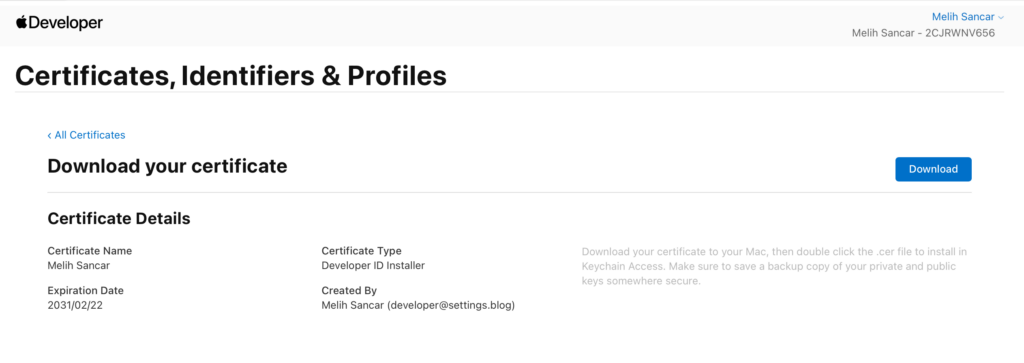
You’ve completed the certificate creation operation. From this last step, you can download your certificate with the .cer extension by clicking the Download button.
3. Let’s Install Our Certificate in Keychain Access
When you double-click the Developer certificate you created and downloaded to your computer, it’s automatically installed in the Keychain Access application. But right now, in this state, this certificate will work like a Self Signed certificate. You must also download the Apple Root and Apple Intermediate certificates — the higher chains of the certificate trust ring — and install them in the application. You can download these certificates from the Apple PKI page. The names of the certificates you’ll download are:
• Apple Inc. Root
• Developer ID – G2 (Expiring 09/17/2031 00:00:00 UTC)
After downloading both certificates, you can add them to Keychain Access by double-clicking them.
4. Let’s Create a Profile and Save It as Unsigned
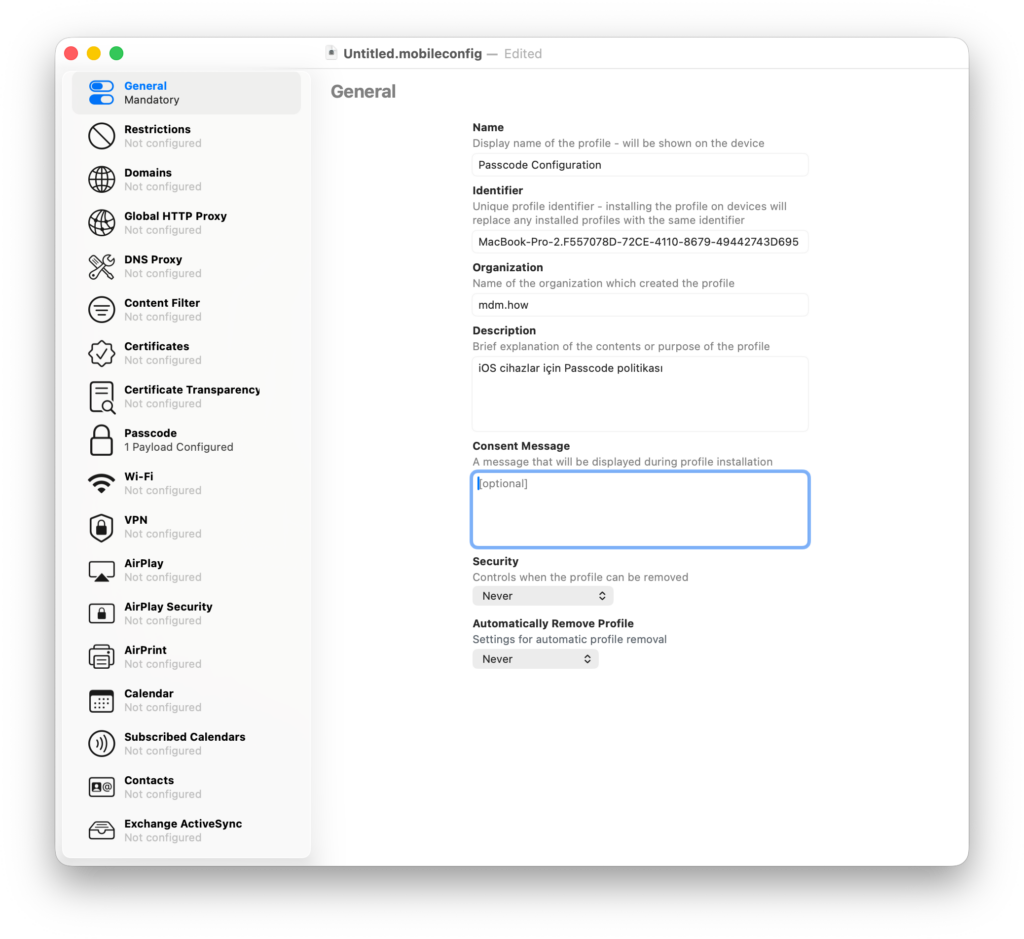
Open the Apple Configurator application on your Mac. If Apple Configurator is not installed on your computer, you can download it from the App Store. Issue the File > New Profile command and, from the screen that opens, configure any configuration category you want as you wish with the General tab. Then issue the File > Save command and save it to your computer.
5. Let’s Sign the Profile with Our Certificate
We can now move on to signing the profile we saved using the certificate we created earlier from the Apple Developer page. For this, we’ll use Terminal. Paste the following command into Terminal.
security cms -S -N developerID_installer -i /Users/melihsancar/Desktop/Passcode\ Configuration.mobileconfig -o /Users/melihsancar/Desktop/SignedPasscode\ Configuration.mobileconfig
To explain briefly, the security command used here is used to do Keychain management. And the cms command that comes right after uses the Cryptographic Message Syntax tool. In summary, the code above does the job of signing the Passcode Configuration.mobileconfig profile on the desktop using the certificate named developerID_installer in the Keychain, and saving it again to the desktop as SignedPasscode Configuration.mobileconfig.
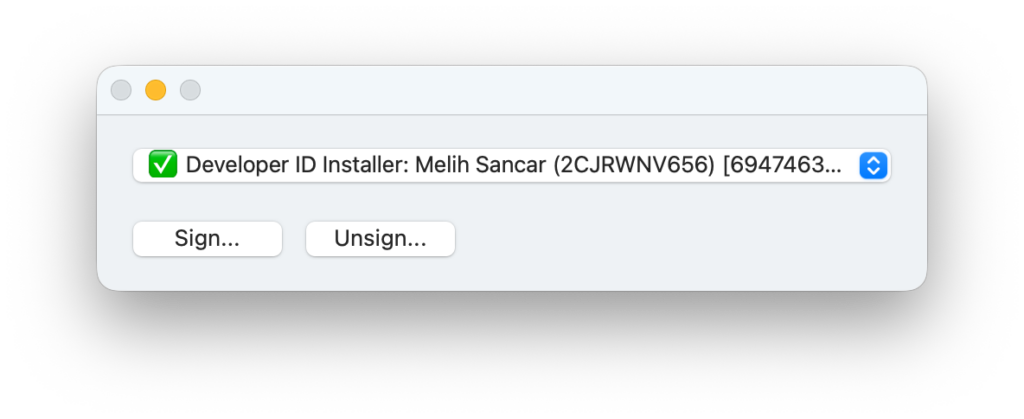
If you don’t want to deal with Terminal and codes, a small piece of software called Hancock can be used to sign the profile you want using a graphical interface. You can download Hancock from this address.
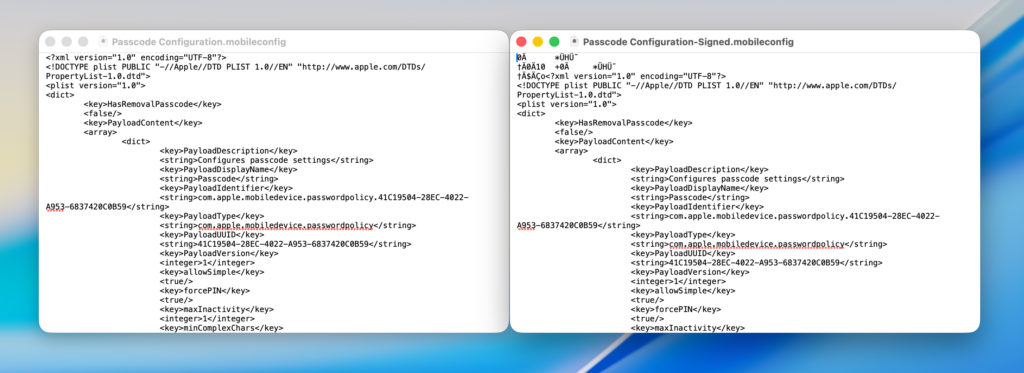
When you open the signed and unsigned profile files with any text editor, you can see that some characters are garbled in the signed one, whereas the unsigned profile is in a completely readable format.
Leave a Reply