
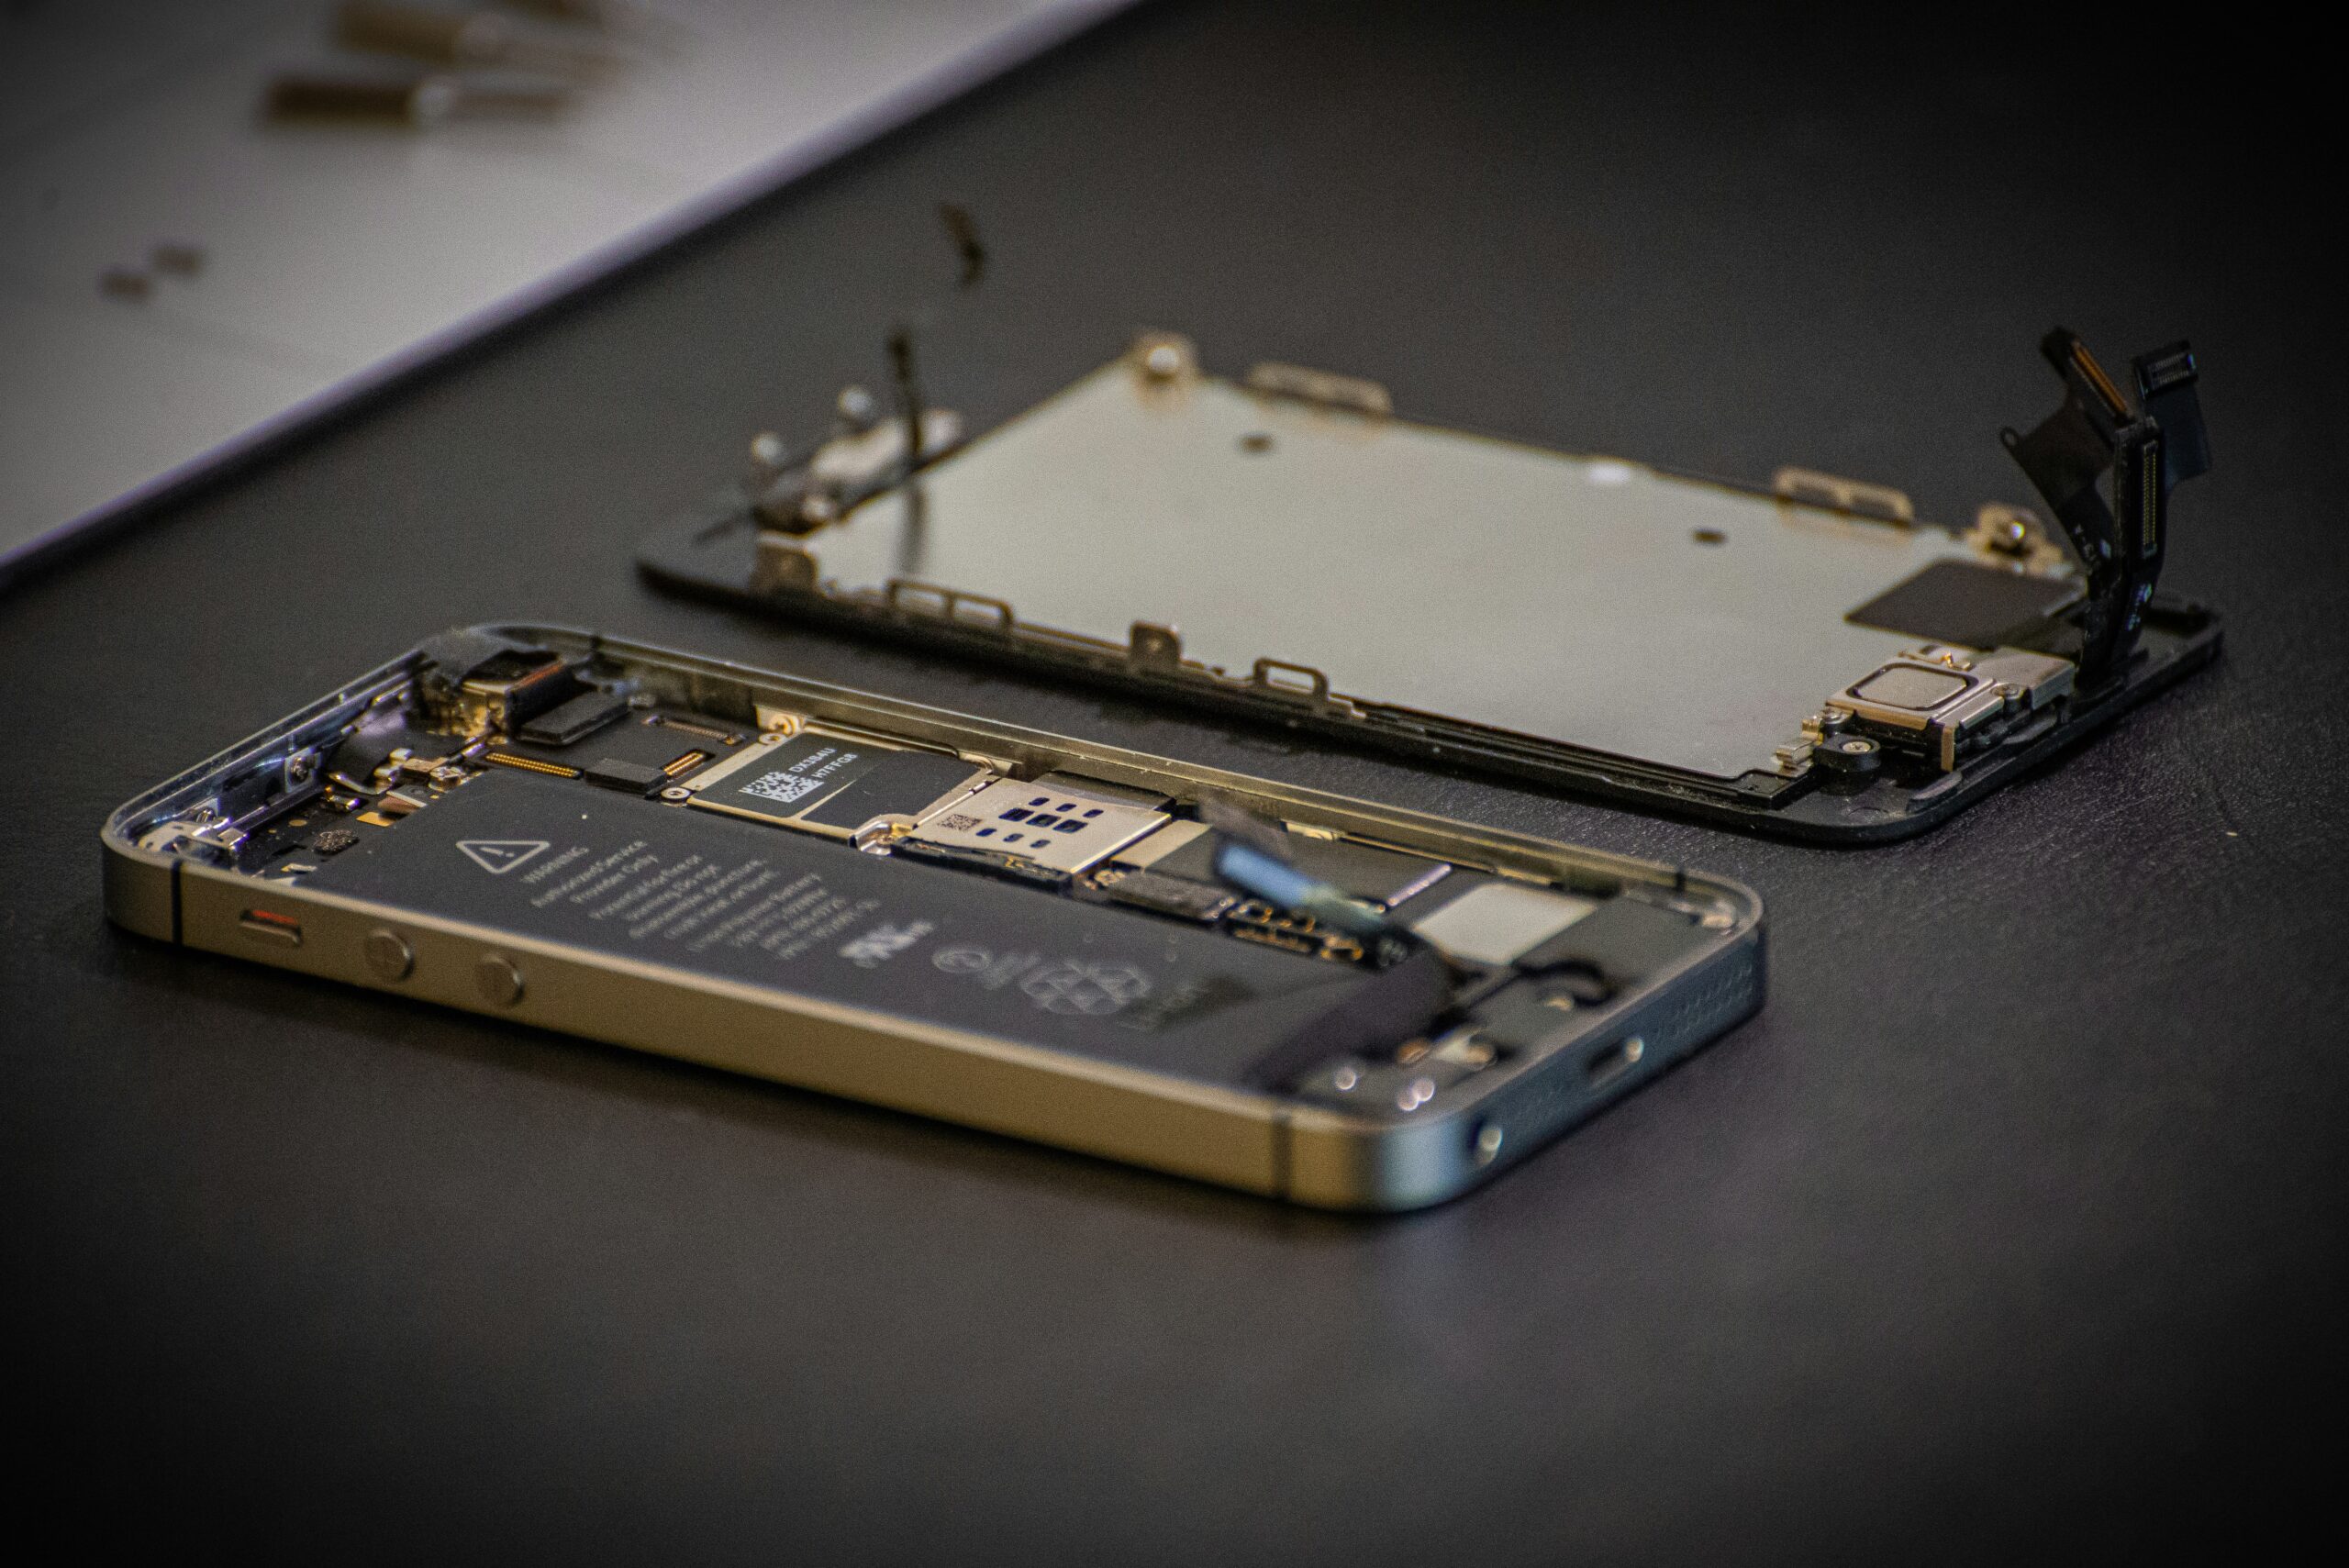
Have you ever been to any Apple Authorized Service Provider, or directly to one of the Apple Stores in Istanbul, because of a problem with your iPhone? They took your phone and went inside saying “You wait here, let us go check and come back,” didn’t they? If you’re curious about what they do with your device inside, come closer, I’ll tell you.
A few years ago, Apple launched the Self Service Repair program. Within this scope, you can do the repair of your own Apple devices in your own environment by ordering the equipment necessary for repair and the parts to be replaced from Apple. Please note that, this program is not available in our country yet.
Within the scope of the Self Service Repair program, you can buy hardware parts and the tools and equipment necessary for repair via the Self Service Repair Store. If you’re not interested in buying, it’s also possible for you to rent some equipment.
You can also access the guidance and manuals necessary for repair from this page.
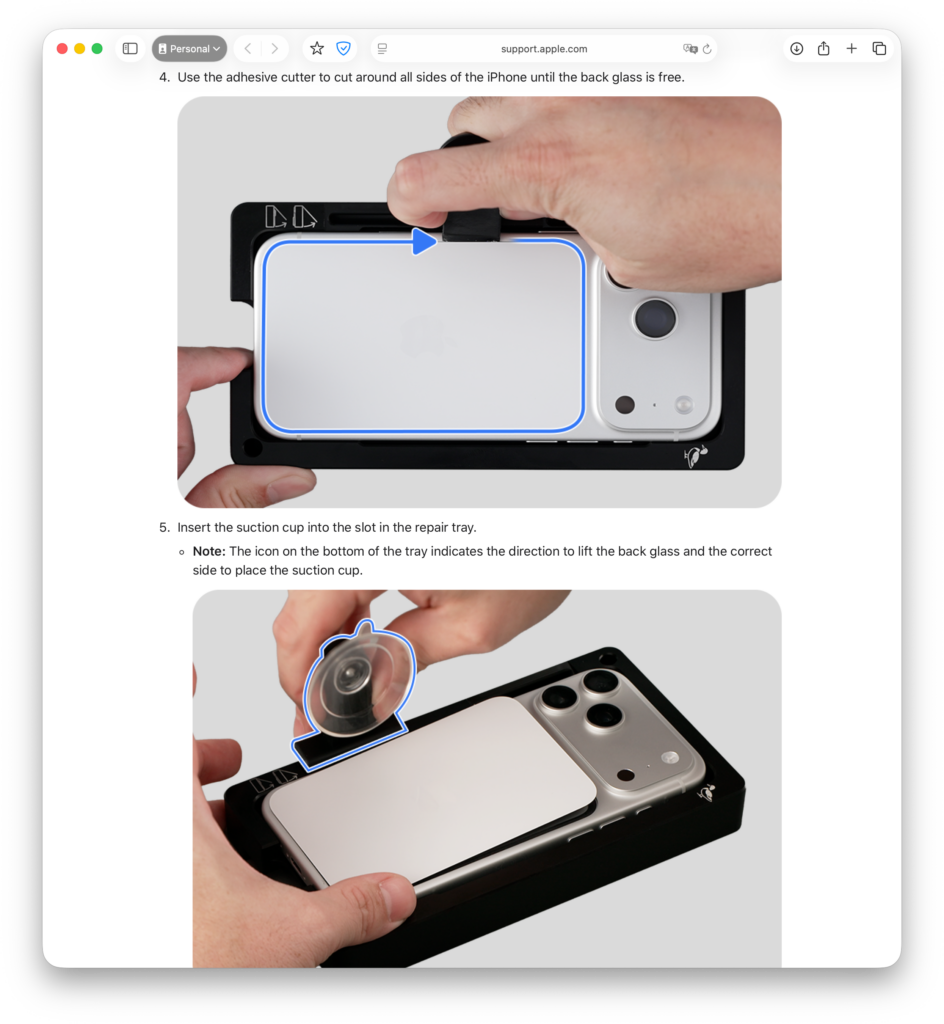
For example, the screenshot below shows the back glass replacement of an iPhone 17 Pro Max.
Before taking a screwdriver in your hand and diving into the iPhone, it may be useful to find out whether there really is a problem on the device. Fortunately, for this there is a special startup mode on iPhones called Diagnostics Mode. If you start your phone in this mode, you can also reach the diagnostic tools that technical services can access yourself. You can read the Apple article about this special startup mode at this address.
Step by Step
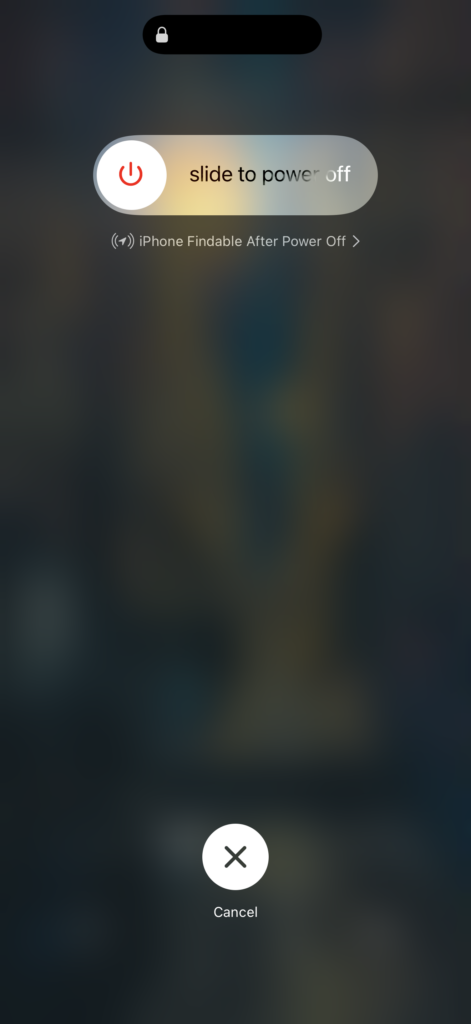
1. Start by turning off your iPhone. You can do this by pressing the Power and volume-down buttons at the same time, or via the Control Center.
2. After your phone turns off, remove its case if it has one.
3. While pressing the iPhone’s volume-up and volume-down buttons at the same time, plug in the power cable. The other end of the power cable may be connected to the charging adapter or to your computer.
4. Don’t remove your fingers from the volume-up and volume-down buttons during startup until you see the Apple logo.
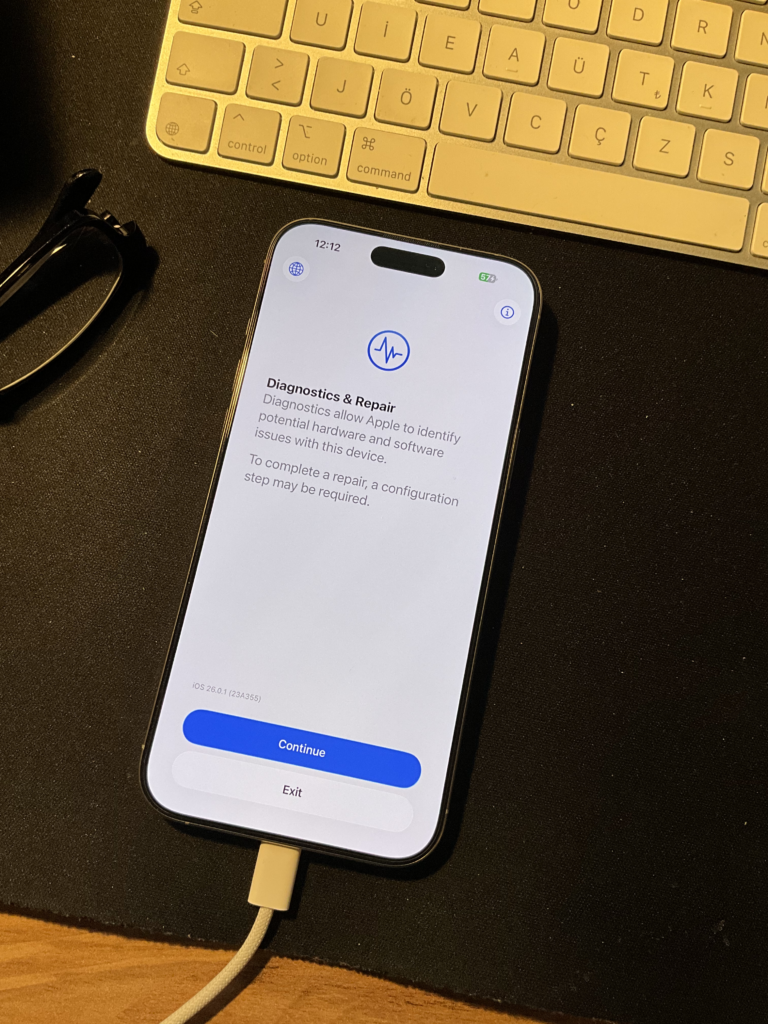
5. The screen below will appear. Click the Continue button.
6. From the next step, select your Wi-Fi network.
7. On the privacy page regarding some device diagnostic information being sent to Apple, give your approval.
8. On the next screen, you can start the operation by tapping the Run Diagnostics option that appears.
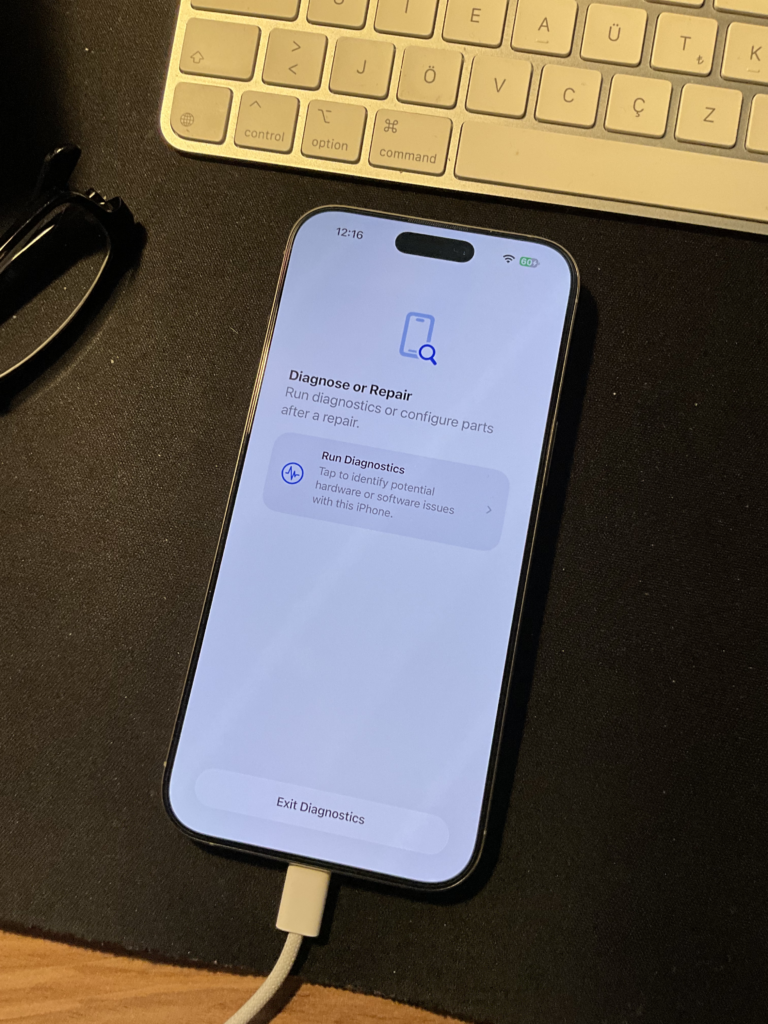
9. On the screen that appears, tests independent of one another that you can apply to your phone will appear. In total it will take about 15-20 minutes. If you want, you can also apply them one by one.
• Mobile Resource Inspector: This section checks whether all the hardware components of your device are in their places and working properly. A trouble-free test result should look like the following.
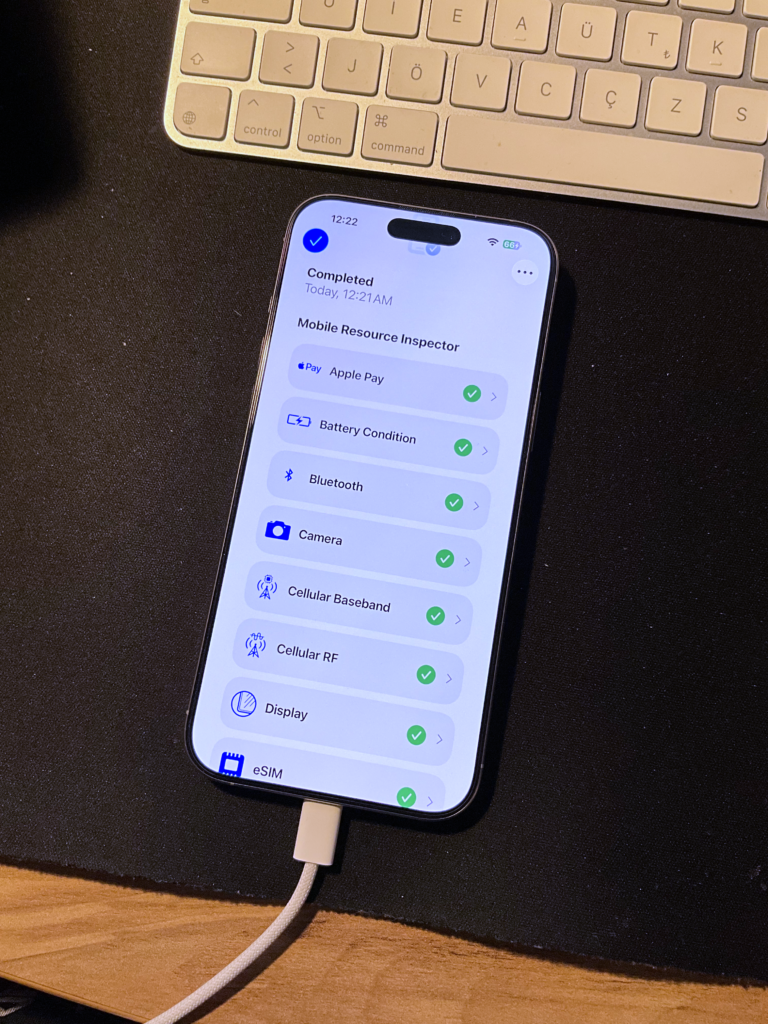
• Audio for Self Service Repair: This section will test the microphones and speakers. Certain ringtones are played from the phone’s different speakers. After each one, it asks you for confirmation about whether you heard the sound. After the speakers, it asks you to make a sound recording to test the microphones.
• Display Pixel Anomalies: It tests whether there are dead or stuck pixels on your screen. When you see any problem, it will ask you to enclose that area in a small square. If you didn’t see any problem, you can end this test by pressing any button (volume up, down, power, etc.).
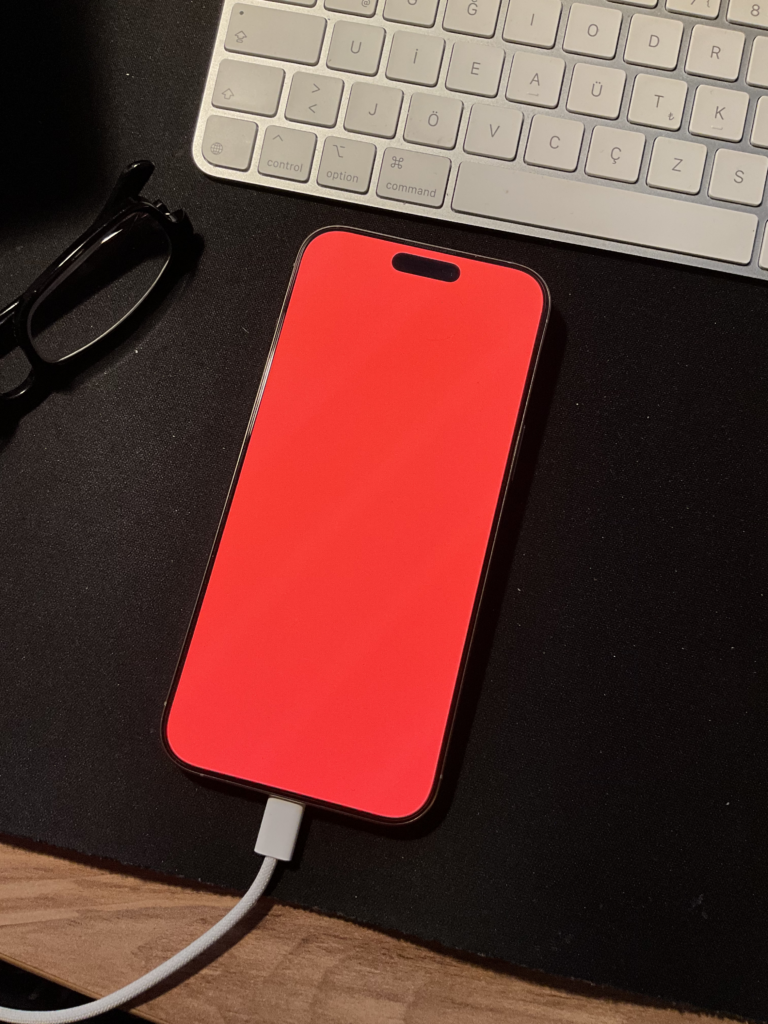
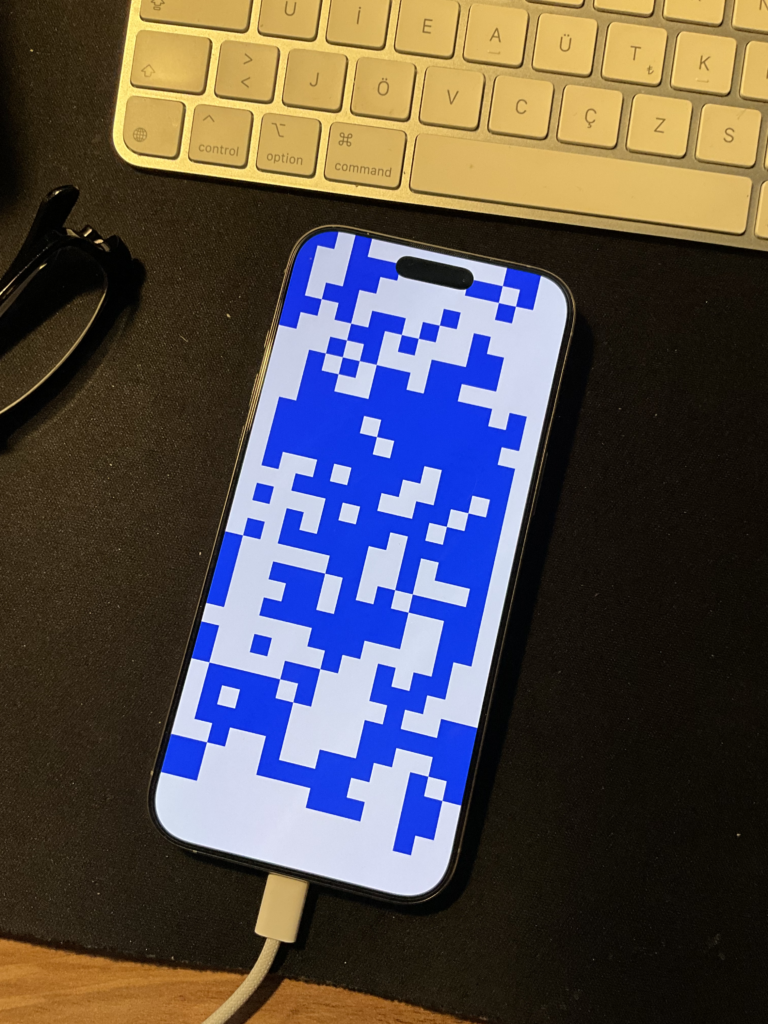
• Multi-Touch: As the name implies, it’s the test that helps us understand whether there’s a problem in the touch sensitivity of the screen. It expects you to paint the whole screen blue by touching the white screen that opens with your finger. If you haven’t painted the whole screen, it may look as if there’s an error in the test result.
• Face ID: It’s a test that will help you understand whether there’s a problem in your phone’s face recognition feature. Here you don’t need to do anything interactive. It’s enough to just hold the phone to your face and look at the screen.
• Camera Image Quality: It’s a test you can use to understand whether the phone cameras are working properly. During the test, it expects you to take some photos and mark the areas that appear problematic in these photos. While doing this test, it will test the front camera first, then the rear cameras. Before this test, I would recommend wiping your cameras with a cleaning cloth.
Exiting the Test
After doing all your tests, to exit, it’s enough to click the three dots in the upper-right corner and issue the Exit Diagnostics command. Your phone will turn off and start up normally.
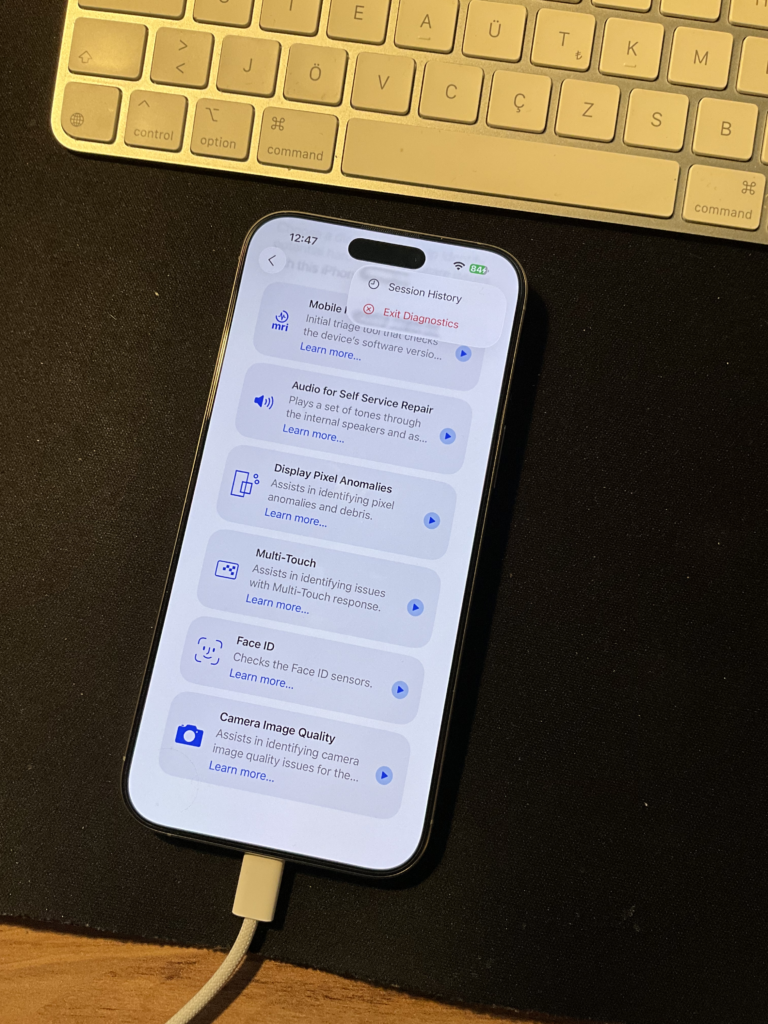
Photo by Joel Rohland on Unsplash
Leave a Reply