

Among the device management innovations Apple announced at WWDC 2025 in June, the most important was undoubtedly the one related to Device Management Migration, that is, the MDM vendor change. With this new change, Apple system administrators were given the ability to change the MDM vendor without resetting the device. Before this, organizations would start working with one MDM vendor and, no matter how high the license pricing was, would continue their lives with the same vendor because of the operational burdens that changing vendors would bring. From now on, if the company you buy your MDM licenses from doesn’t provide you with a price advantage, you can switch to another vendor this very day.
Why Was Resetting Necessary?
I’ll explain at length, but let me give you the conclusion right at the start of the sentence: “because of the Enrollment Profile.”
There are several methods for enrolling any Apple device into an MDM.
• Account Driven Device Enrollment
• Automated Device Enrollment (also known as DEP Enrollment)
• Profile Based Device Enrollment
If you chose the Profile Based Device Enrollment method, while a device is already in use, you can enroll the device into your MDM server without resetting it, by having the user download the enrollment profile via a web portal. When you do this, the user has the option to opt out of being managed with MDM. The user simply goes to the System Settings > General > Device Management section and deletes the profile there. And they have completely severed their connection with your MDM server.
Or if you preferred the Account Driven Device Enrollment option, the user enrolls their device into your MDM server by signing in from the System Settings > General > Device Management section using a Managed Apple Account you gave them. Leaving is as easy as enrolling. Only a single Sign Out command is needed.
As a result, if you’re not using the Automated Device Enrollment method, it’s possible for the end user to leave themselves out of management. In the Automated Device Enrollment method, on the other hand, a device assigned to an MDM server from Apple Business Manager automatically pulls the enrollment profile from the MDM server during the initial setup. And the enrollment profile it receives becomes permanent on the device. The user has no chance of being able to delete this profile. Even if they reset the device, put it into DFU mode, or reinstall macOS by changing the hard disk, the device will automatically pull the enrollment profile from the MDM again every time.
The only way to be able to delete an enrollment profile on a device is to remove the device from MDM management. If you manage the device with Jamf, for example, when you remove it from Jamf, the enrollment profile and, along with it, many of the changes made on the device (not all) are deleted.

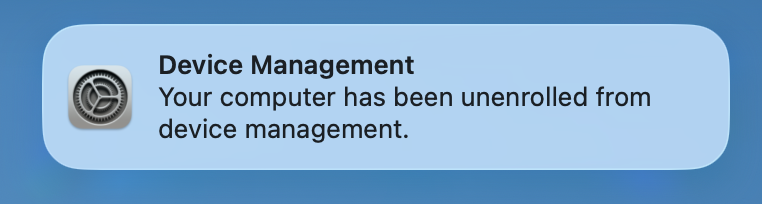
A short time later, you see a notification like the following on the device removed from MDM management. After this notification, you may receive various additional notifications. For example, an application you previously granted permission to with a PPPC configuration may want to access the desktop, for instance. After the PPPC profile is deleted in the meantime, a notification indicating that it is requesting this permission again may appear.
Re-Enrollment
You have a few different scenarios for bringing the device that has left the old MDM management back under an MDM management.
1. With the Profile Based Device Enrollment method, you can enroll the device into the new MDM without resetting it.
2. With the Account Driven Device Enrollment method, you can again enroll it into the new MDM without resetting, in a way compliant with GDPR.
3. After assigning the device to the new MDM server from Apple Business Manager, you can open Terminal and type the following command.
sudo profiles renew -type enrollmentA short time after typing this command and entering your Admin password, a screen like the following appears. From this screen, by clicking the Enroll button, you will have enrolled the device into the MDM server assigned to it in Apple Business Manager with the Automated Device Enrollment method. Yes, without formatting the device.
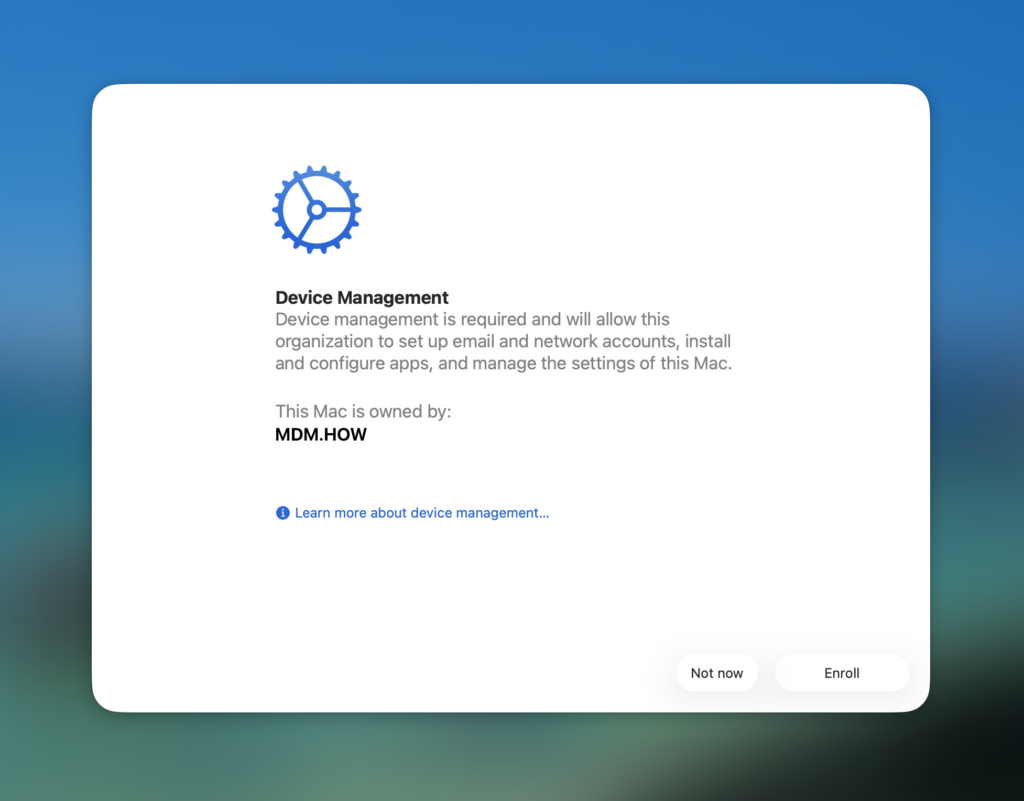
A short time after typing this command and entering your Admin password, a screen like the following appears. From this screen, by clicking the Enroll button, you will have enrolled the device into the MDM server assigned to it in Apple Business Manager with the Automated Device Enrollment method. Yes, without formatting the device.
I can almost hear you saying “So, what’s new here? We removed the device from the old MDM without formatting it, and added it to the new MDM.” Yes, that’s actually exactly what we did. But with two differences…
The first is that we had to do this operation manually and sit down at each device with Admin privileges and enter the above command from Terminal. If you have, for example, 350 Mac users used in a scattered way in the field, this option is not really an option.
The second is that the test device I used when giving the above example is a Mac. You cannot do the device management service change on iPhones and iPads with this old method.
Device Management Migration
Using this new feature announced at WWDC 25, you can switch between MDM solutions regardless of whether the device you manage is a Mac, iPhone, or iPad. For this, all you need to do is assign the device to the new MDM server via Apple Business Manager. If you want, you can also set a deadline date and time for this migration.
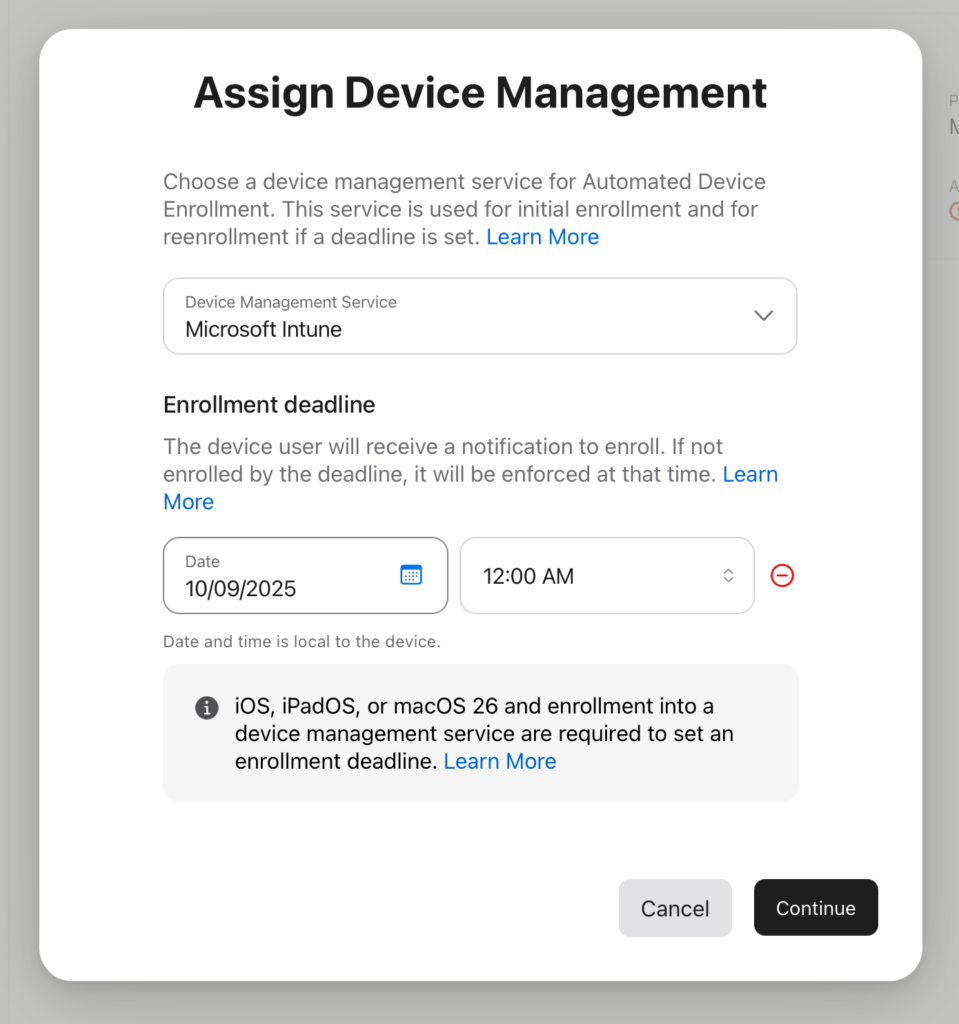
A short time after changing the device assignment via ABM, a warning named Enrollment Required will appear on the user’s device. If a deadline has been set, the user can postpone the enrollment operation by clicking the Not Now button. When the set time arrives, the new MDM enrollment operation will be triggered automatically.


There are some preconditions for being able to use this new Device Management Migration method.
• The devices you will migrate need to have moved to the macOS 26, iOS 26, or iPadOS 26 versions.
• If the device you will migrate is an iPhone or iPad, it needs to have been enrolled into the old MDM server with the Automated Device Enrollment method. For Macs, it can also be used for devices that were enrolled with the Profile Based Device Enrollment method and whose registration in the old MDM was subsequently deleted.
• If you enrolled your device into Apple Business Manager manually via the Apple Configurator application, the 30-day waiting period for device ownership to pass to the organization needs to have elapsed. If you haven’t done this operation before, you can do it by reading our two articles below.
Adding an iPad (or iPhone) to Apple Business Manager
Adding a Mac to Apple Business Manager
Points to Pay Attention To…
• First of all, when planning such a migration, you need to ensure that the policies you will distribute via your old MDM solution and the new one are as similar to each other as possible. In terms of end-user experience, it is very important that this migration be done as transparently as possible. For this reason, the same profiles, the same applications, and configurations as in the old MDM should be present in the MDM.
• If Activation Lock is on on the device managed with the old MDM, your new MDM solution will take it over. From that minute on, the Bypass codes generated with your old MDM become invalid.
• Similarly, if there is a FileVault configuration prepared with the old MDM and distributed to devices, the new MDM will rotate the Personal Recovery Key using the bootstrap token and start keeping it in its own device registration.
• Before doing the migration for the devices you will manage, you should not send the command to delete applications, thinking “I’ll just send them again from the new one anyway.” The MDM unenrollment command does not delete managed applications. Your new MDM takes over those applications and uses them for Managed App configurations. This way you can do the migration faster.
• If there are also VPP applications among the applications you distribute, you should not set a migration deadline longer than 30 days. To manage this structure, it is enough to simply remove the VPP Token from your old MDM and introduce it to the new one.
Leave a Reply