
Before Apple Silicon processors arrived on the scene, Parallels Desktop and VMware Fusion were the most popular virtualization solutions in the Macuniverse. After 2020, that is, after the first M1 processor Macs entered our lives, QEMU-based UTM became the only standard. When you create a virtual machine configuration with UTM, it occupies 60 GB of space on your computer’s disk for the virtual machine with it’s default settings.
If your computer’s disk is relatively low capacity, like 256 GB, and you need to use several virtual machines for different usage scenarios, then these 60 GB images may start to become a problem for you.
Normally, when you define a virtual machine with UTM, this data is stored in a file with .utm extension in Macintosh HD / Username / Library / Containers / UTM / Data / Documents.
If you are concerned about disk capacity, you can store this virtual machine data on an external disk. To do this, on the main screen of UTM where your virtual machine list is located, you need to right-click on the virtual machine and choose the Move command.

After using the Move command, you will get a warning like “This image will be deleted from its original location and moved to its new location”. After confirming this warning, you can use any external disk connected to your computer as the address.
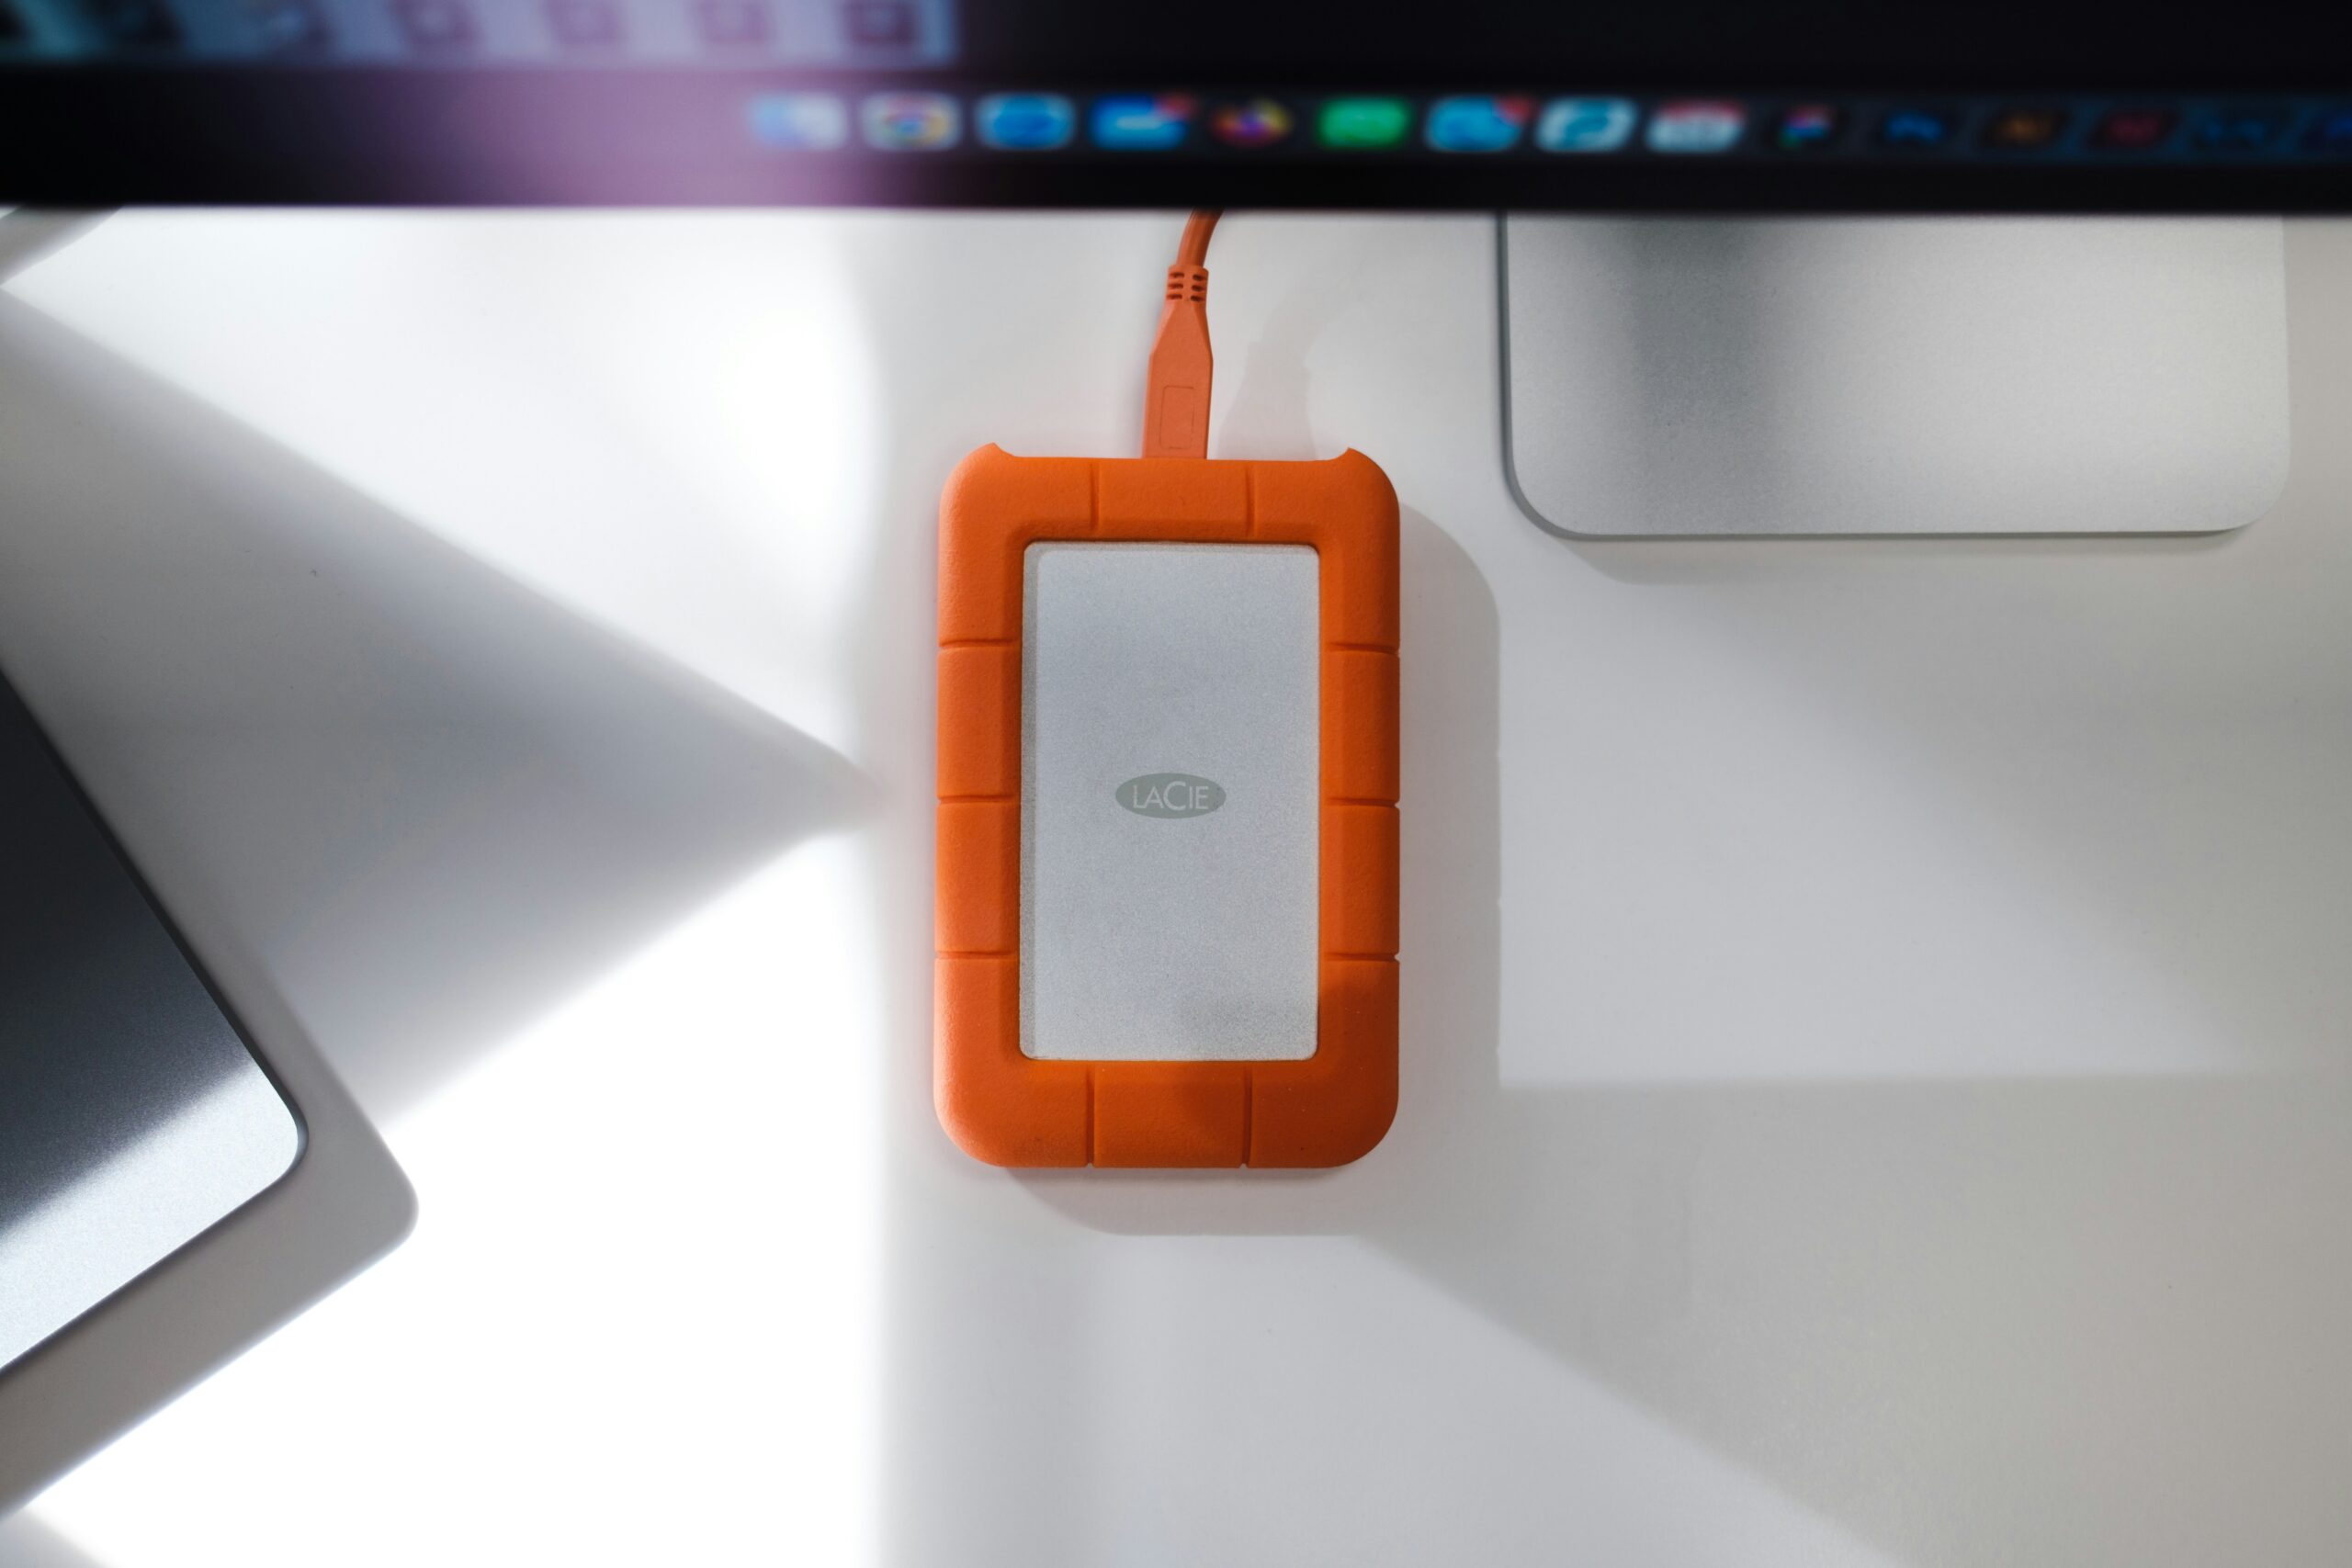
Let me make a small warning; if you try to use a USB Stick with a read/write speed of 15–20 MB/s for this job, the result may not make you very happy. I’m not saying that you must have Thunderbolt, but it would be useful to be connected to an external SSD disk with a cable that can write at least 460 MB/s.

Photo by Aleksandrs Karevs on Unsplash
Leave a Reply